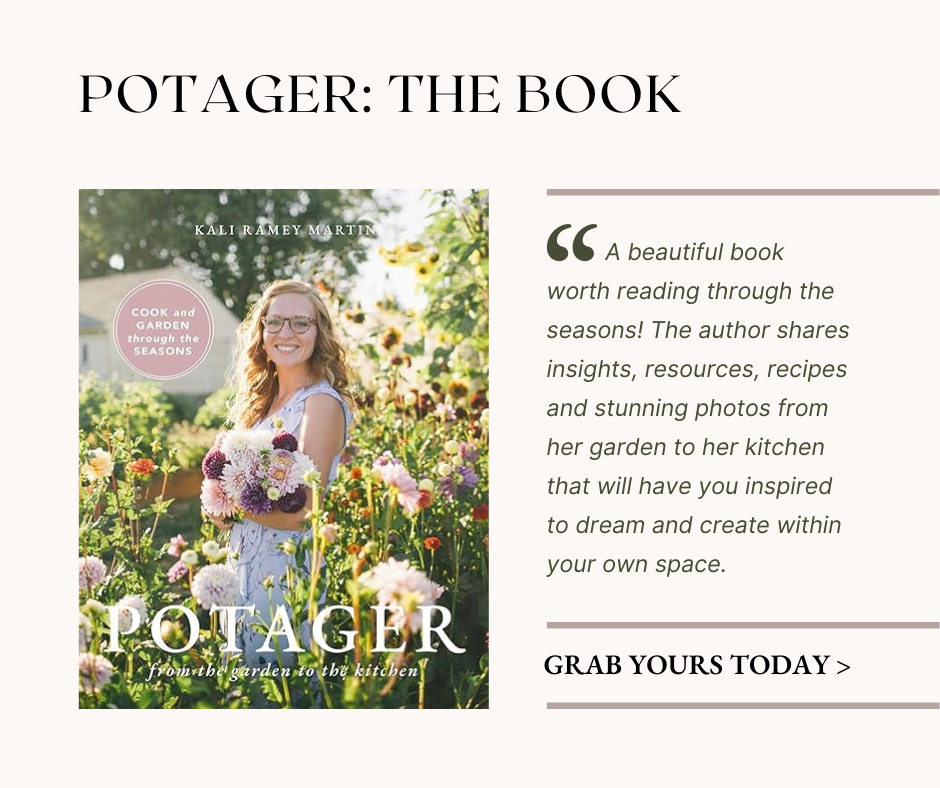
If the streets of heaven aren’t lined with English roses, I’ll be genuinely shocked. Old-fashioned, cottage-style, English roses are just otherworldly. This explains why I fell head over heels for David Austin roses a while back when they were introduced to me. This post is not sponsored, but by all means David Austin, I am WILLING.
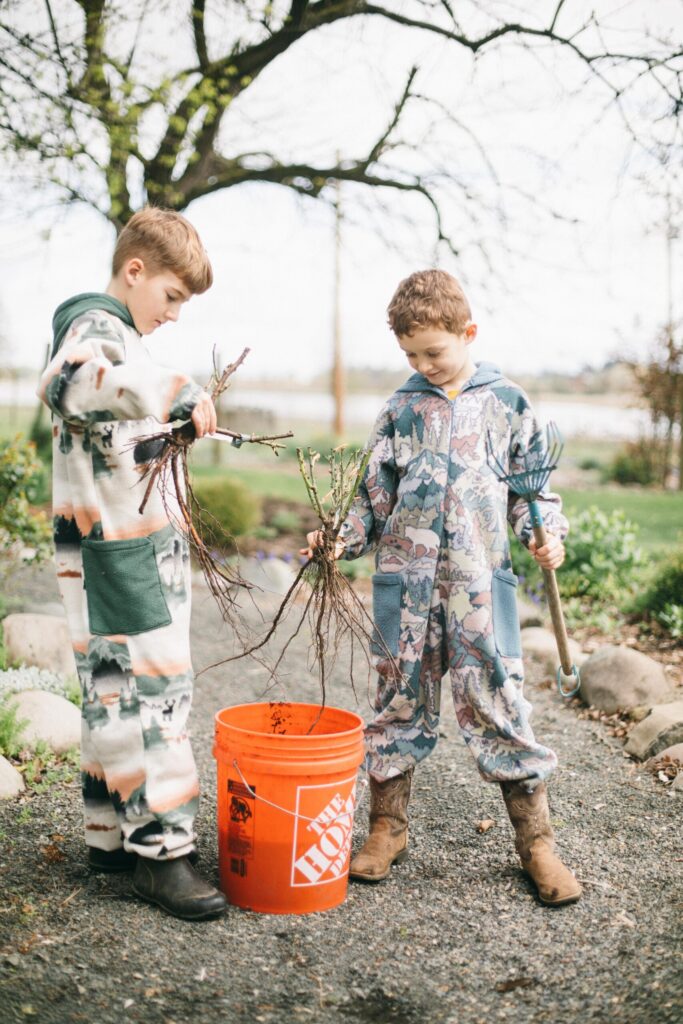
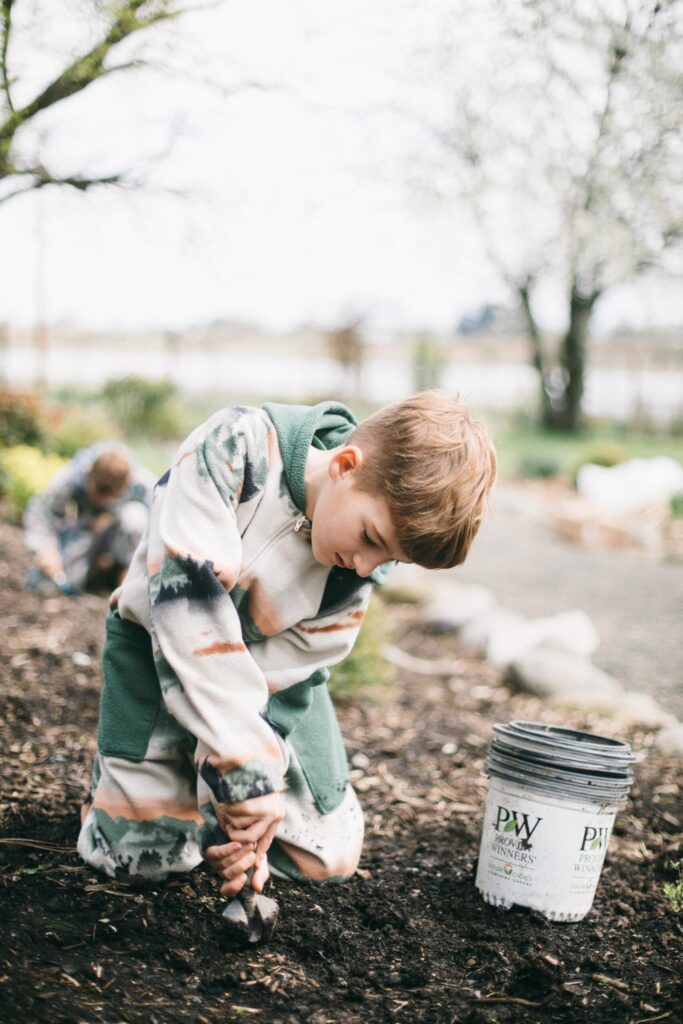
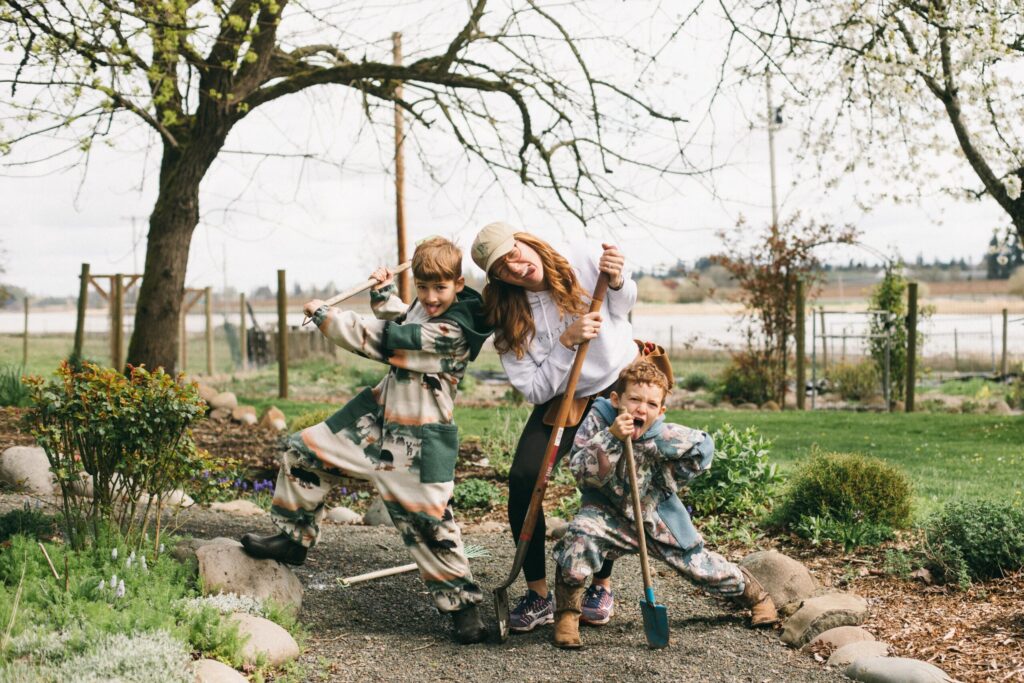
Though I’m only putting in two new roses this year, I have lots of experience planting these gorgeous blooms in various gardens, so my boys and I thought we’d capture the simple process for you. In this post you will find the step-by-step process, just in case English roses feel intimidating. I can assure you, these roses are bred to be hearty, disease resistant and low maintenance. I have had nothing but wild success, and will be the first to admit I’m not the most meticulous rose keeper.
What is a bare root rose?
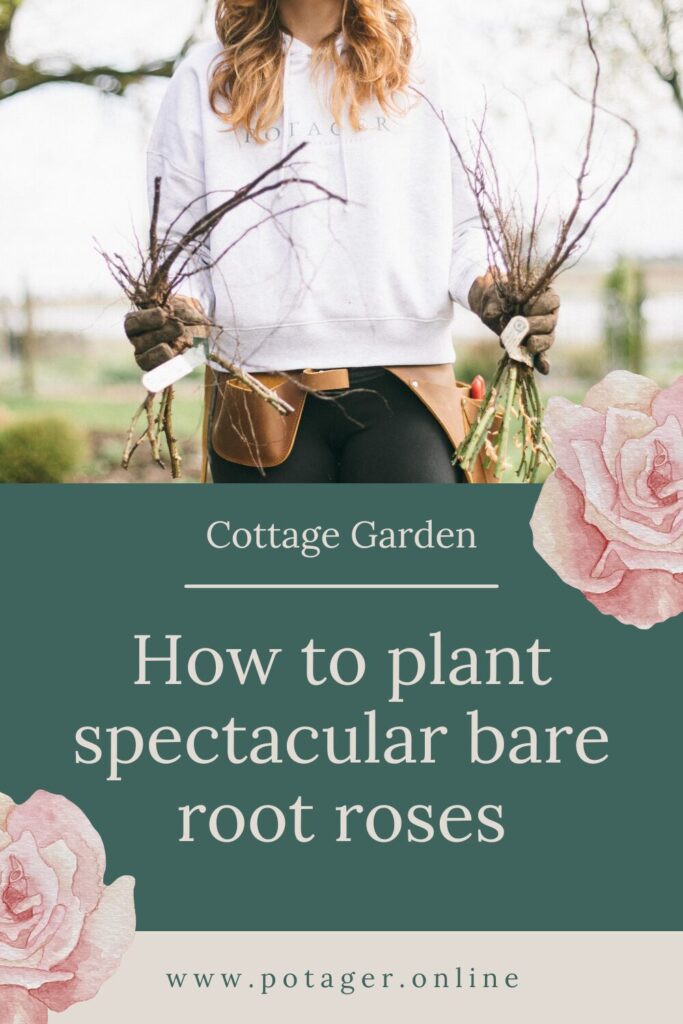
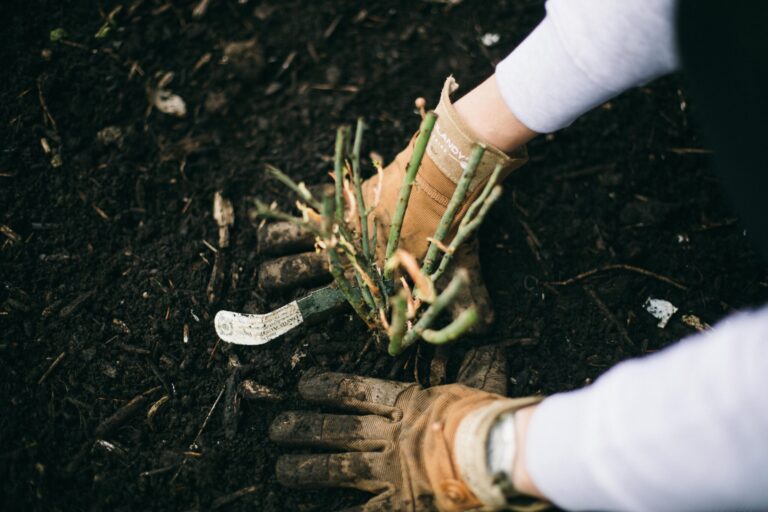
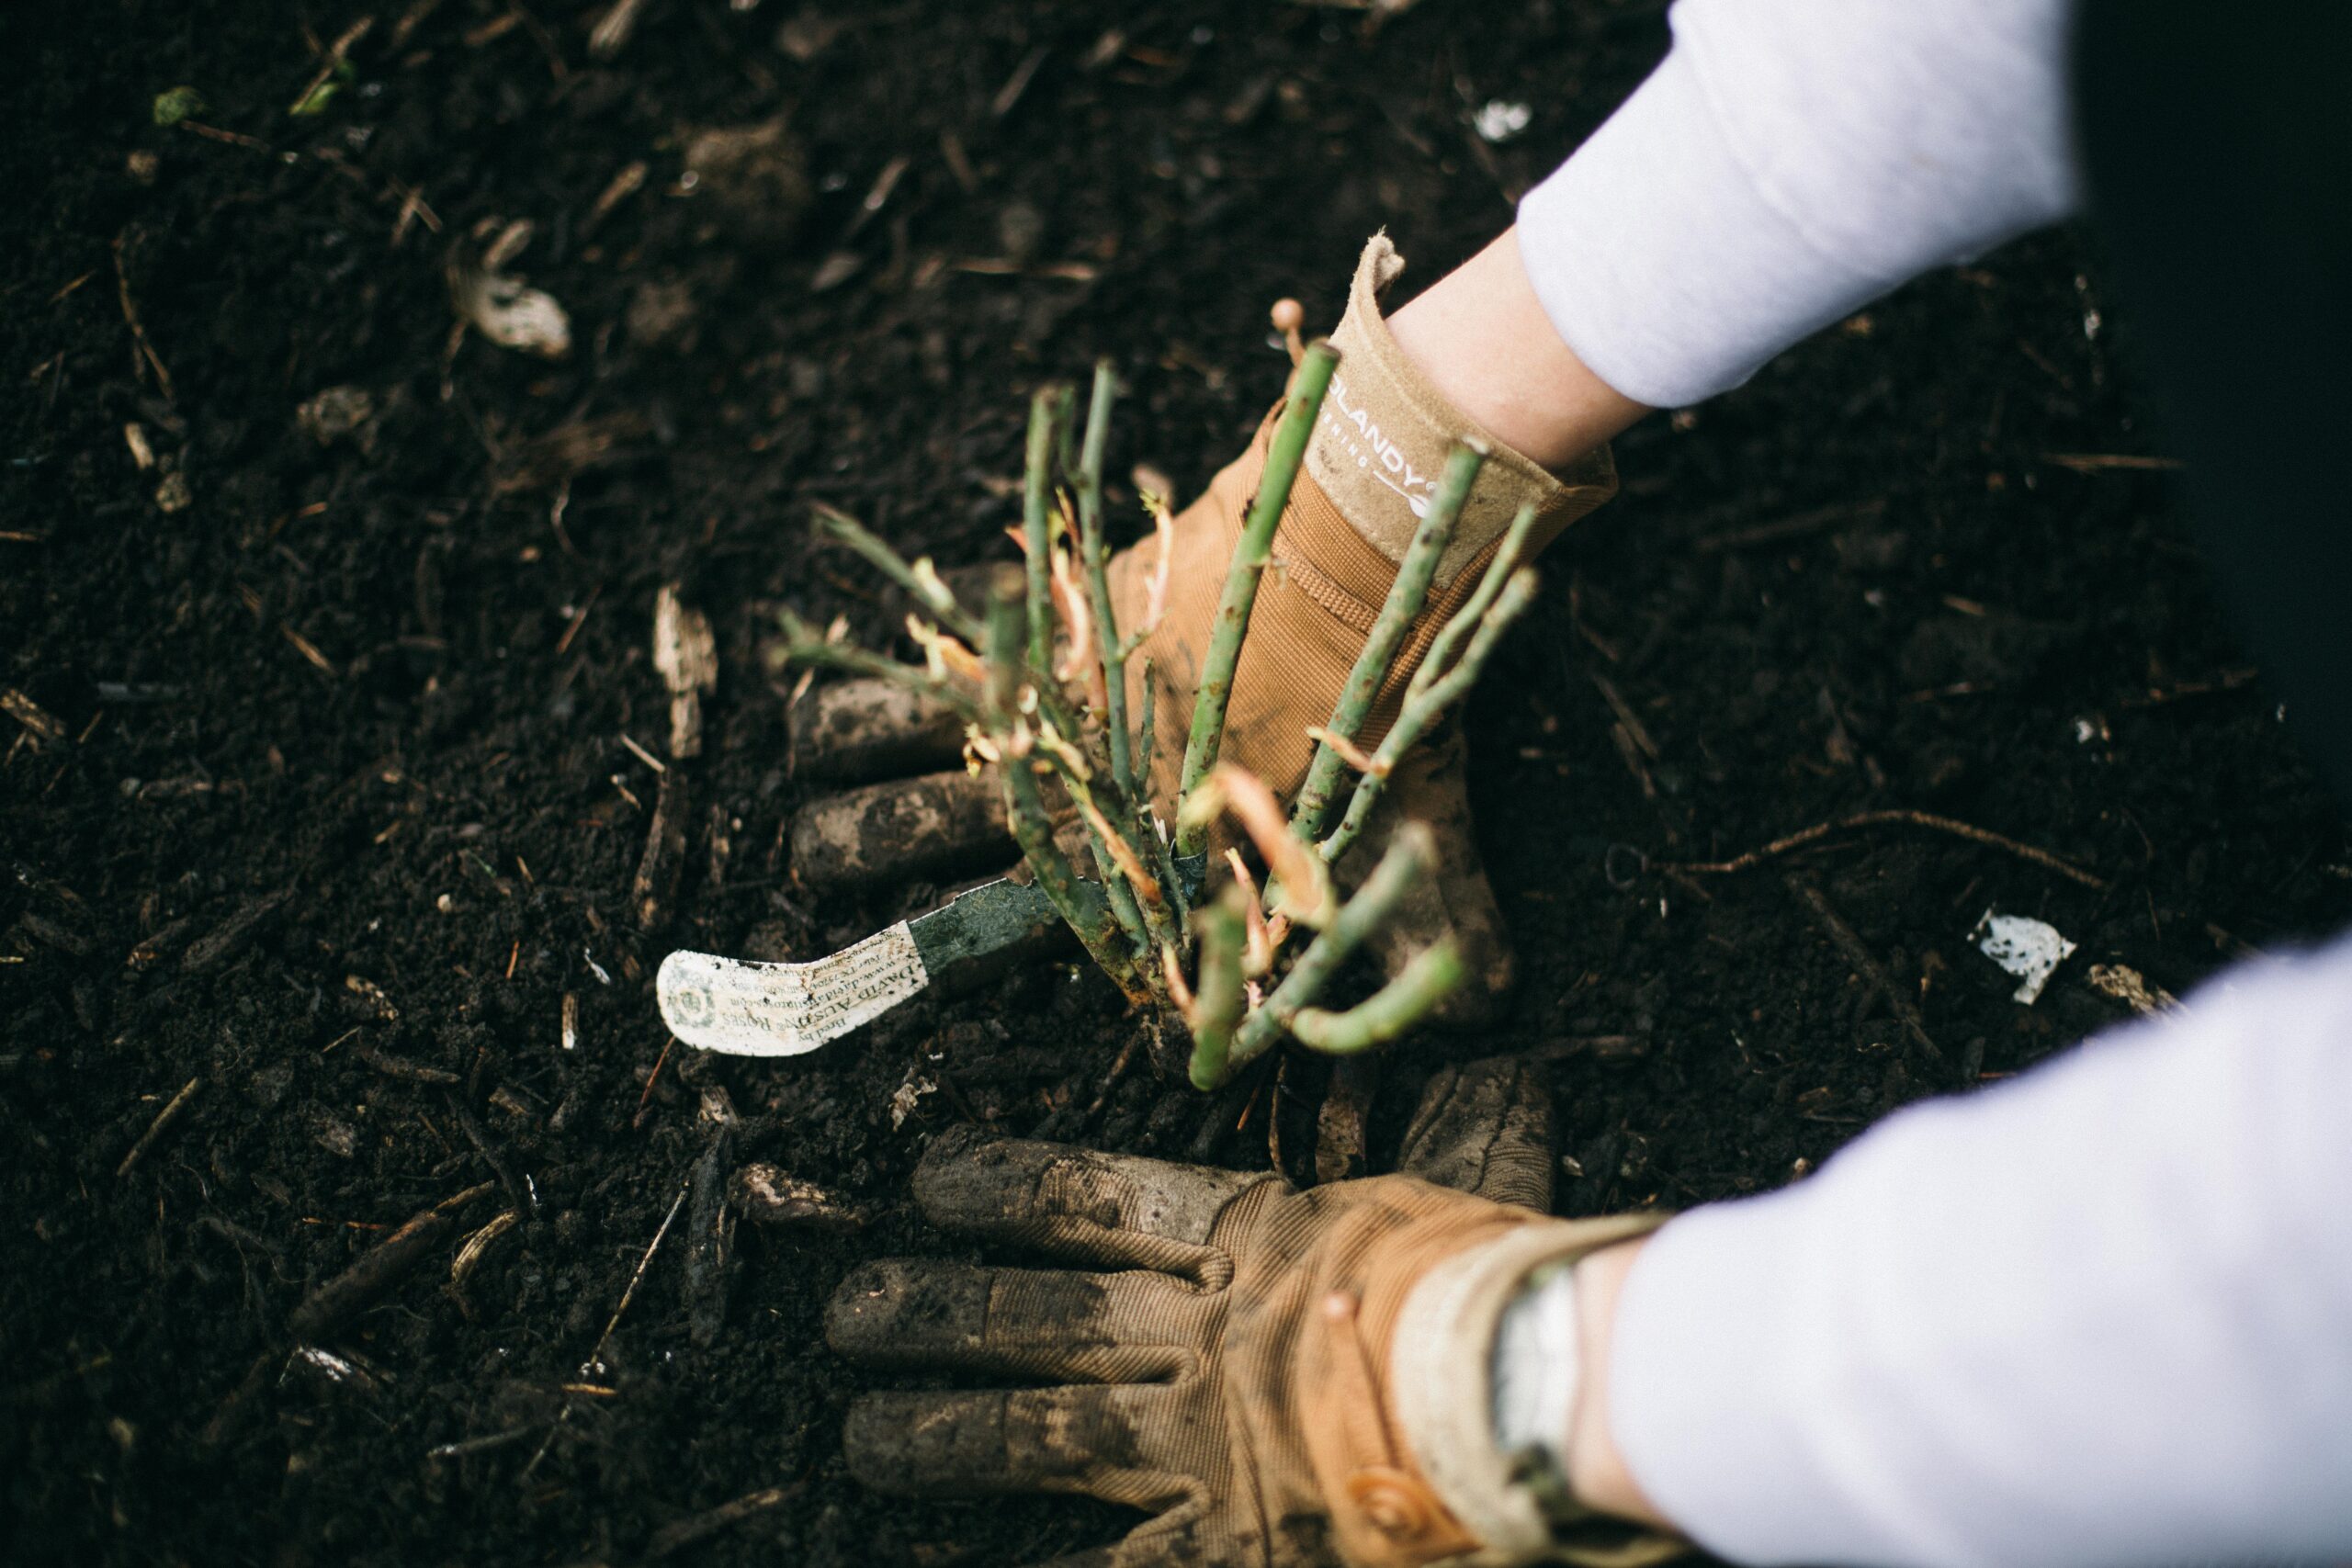
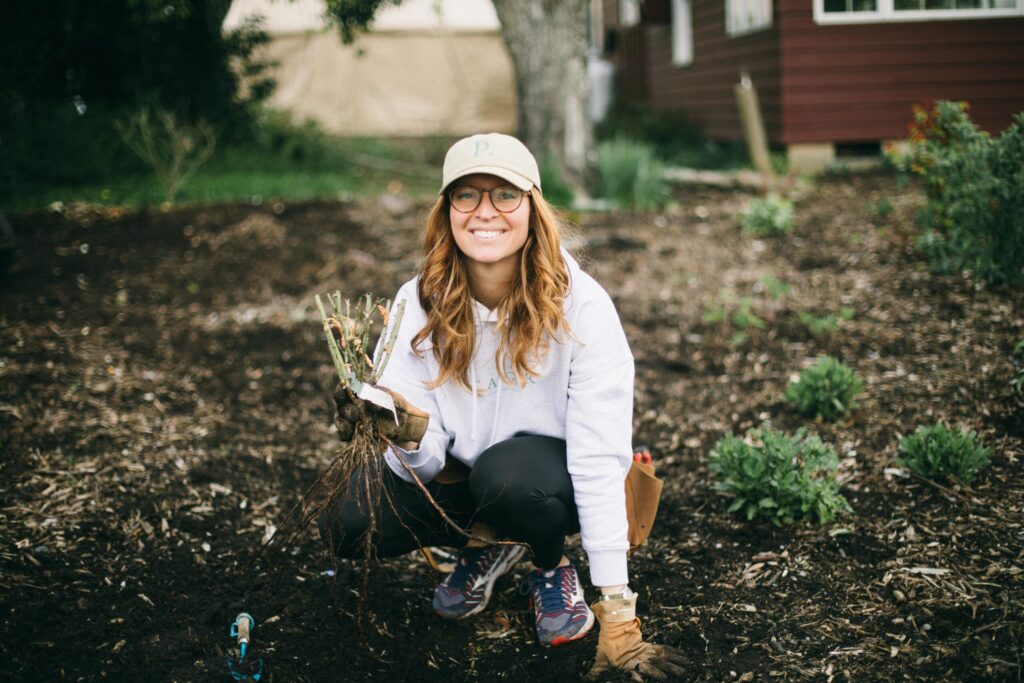
A bare root rose is a rose that comes without any foliage. It is literally a bunch of roots and a few stems that have been cut off. The truly incredible thing is that after you plant them, these roses bloom the FIRST YEAR!
After you order them over Winter (or better yet, get them as a Christmas gift!) they come in the mail in the Spring, when it’s time to plant. You stick them in the ground (with some mycorrhizal fungi) and give them some healthy soil, sun and water and in just a few months YOU HAVE INCREDIBLE ENGLISH ROSES. From roots to roses in a few short weeks.
It’s nothing short of miraculous.
How do I plant bare root roses?
Planting bare root roses can seem intimidating. They don’t come in a pot or with any soil, just a mass of sticks and roots pointing in every direction. I’ll admit, the first time I felt a little lost. But there is nothing to be afraid of. Bare root roses are simple to plant and easy to grow, and we’re going to go through it step by step. Let’s get down to business.
Soak your roses
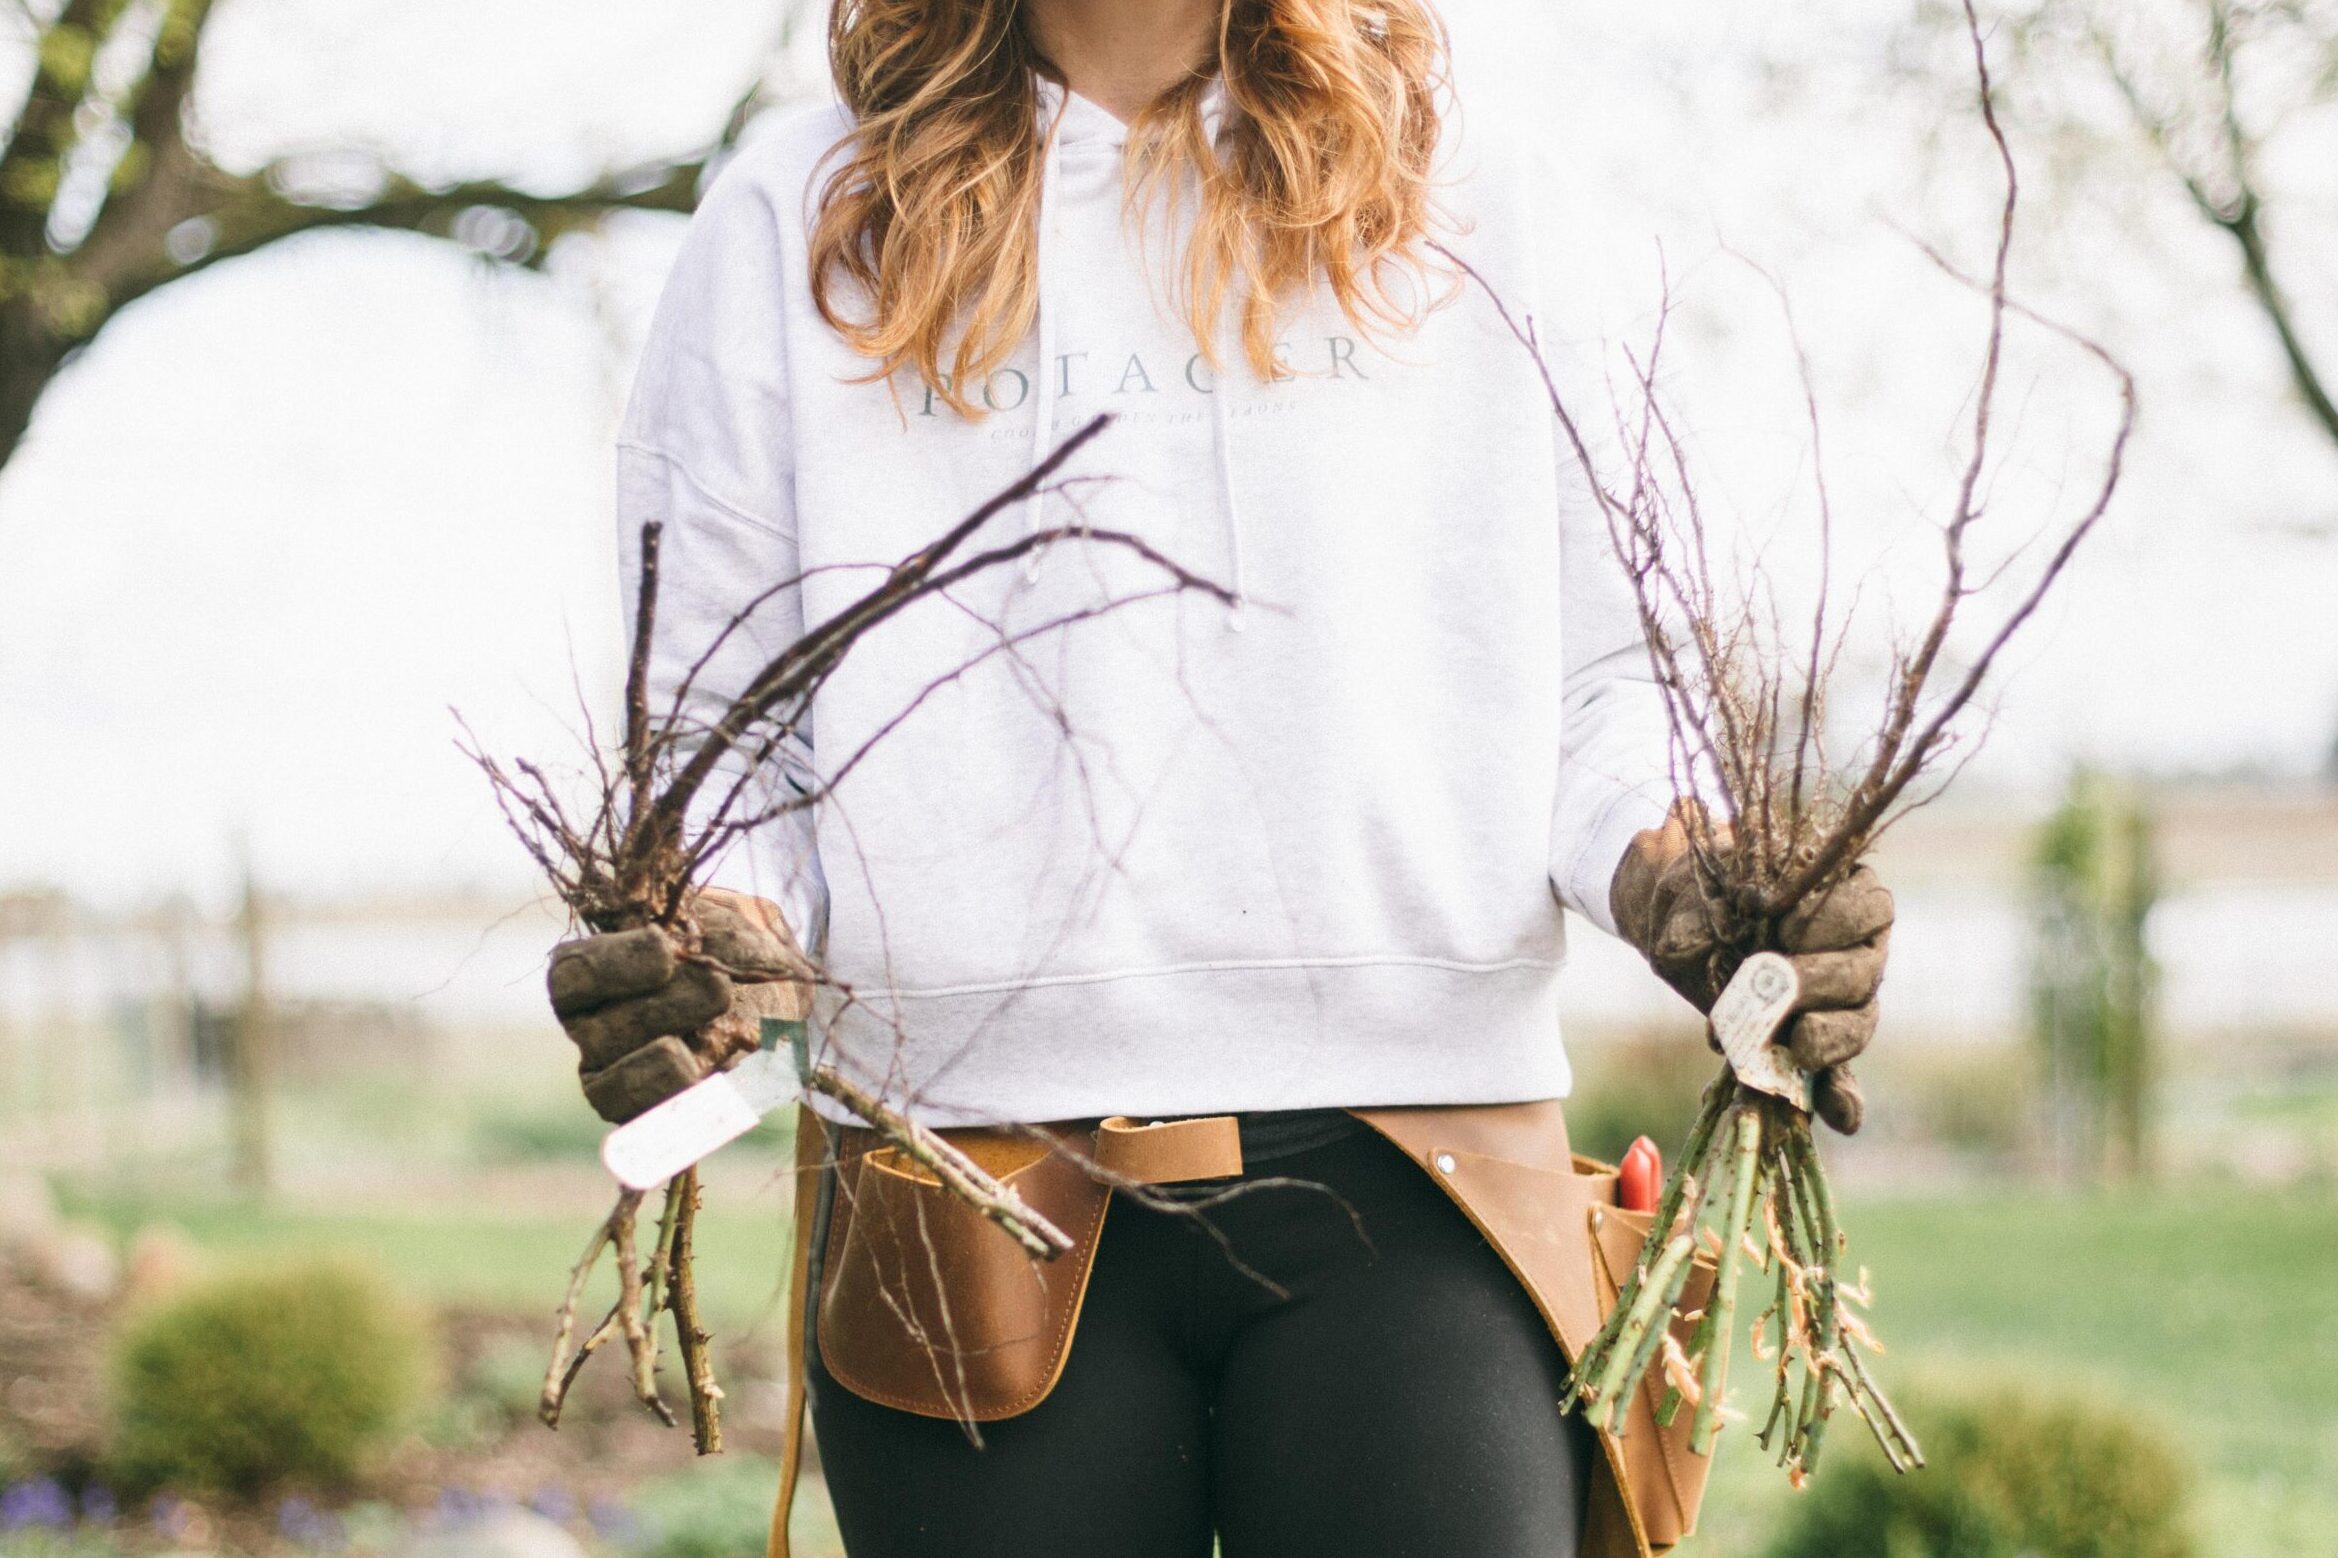
The first thing I always do after opening my box of bare root roses (usually from David Austin, though I have ordered from Heirloom Roses as well) is SOAK them for a minimum of 4 hours. Overnight is probably ideal, but if you are impatient like me, 4 hours is the ticket. This rehydrates the roses and puts them in the best position to succeed once you get them in the ground.
I will tell you that I have planted mine without soaking for the full time period and haven’t noticed any ill effects, but don’t be like me. Do it right.
Prep your space
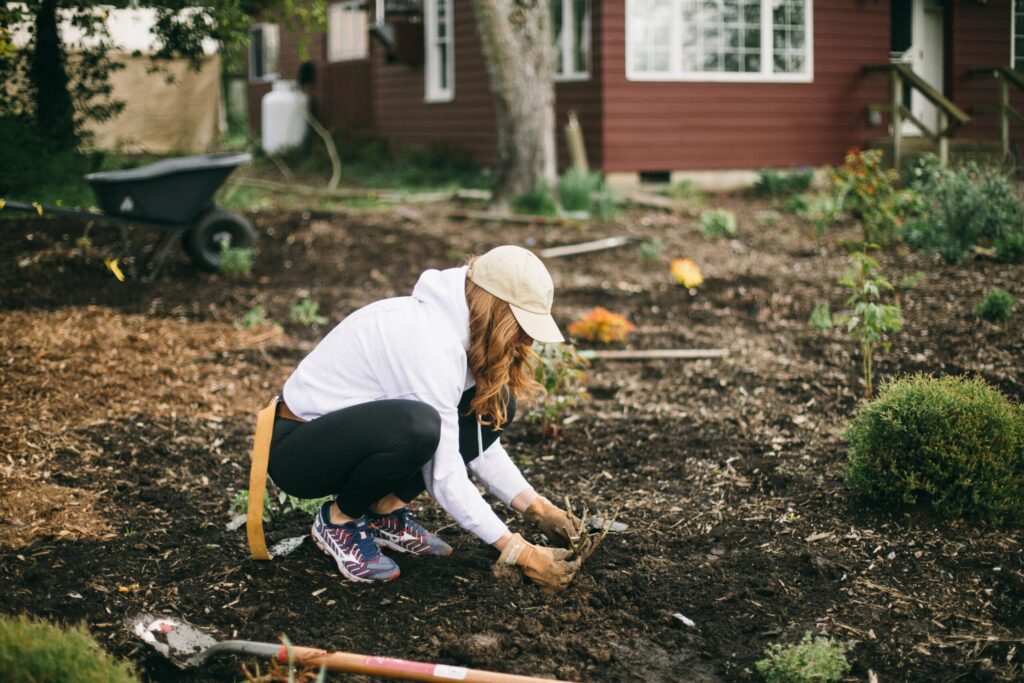
First, choose where you wish to plant your roses. David Austin offers a TON of guidance in their catalogs and on their website for ideal planting conditions. Study this before you choose your planting locations. Once you’ve done your research, then you can begin to dig your hole. I like to prepare a hole about 12″ wide and at least 6″ deep. Take a look at your bare root roses though and see how much space your specific plant will need. They are all unique and have different root shapes.
If you end up with one that has a tricky shape, making planting difficult, I have snipped off a small section of root in this case. Trimming the roots will only stimulate more growth. Don’t be afraid!
Finally, when you are clearing the soil from your hole, I find it much easier to scoop it into a separate container or bucket instead of just over to the side of the hole. This ensures you have the fill dirt you need, but don’t end up with unleveled ground or extra mounds in your garden. Makes it easy to take the extra dirt with you when you finish.
Mycorrhizal fungi
Don’t ask me to pronounce this one in person, but Mycorrhizal fungi is the secret sauce when it comes to successful rose planting. This fancy fungi creates a friendship that enables your rose to eat and drink better, resist disease, and grow big, strong and healthy. I have added it to nearly every rose I’ve planted and they’ve all gone gangbusters the first year. Highly recommend.
I have purchased David Austin’s fungi in the past, but I don’t see it online anymore, so you can easily grab some here. I sprinkle this on the roots of the rose itself, as well as in the hole before filling it back up.
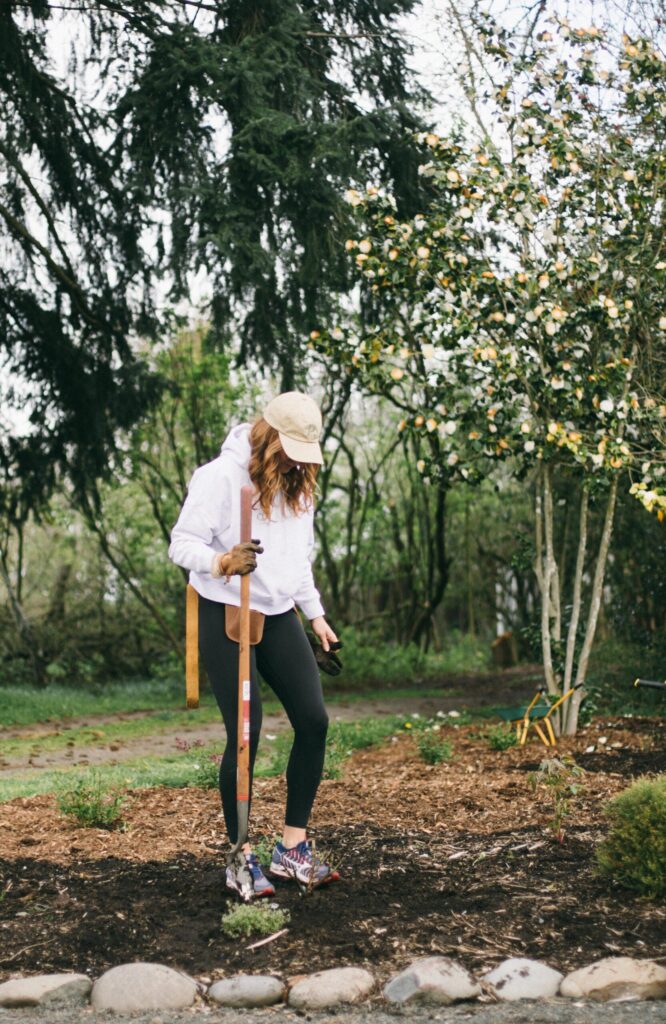
Plant your roses
So when it comes to the actual planting part, you want to make sure you:
- Plant at the right level. There is a change in color between the more green stems of your rose and the brown roots, and that’s the line you want the soil to hit. Make sure you are planting your rose at that depth. Too deep and you’ll suffocate it. Too shallow and the exposed roots could lead to drying out or fragility.
- Pack it properly. As you fill your soil back into your hole around the bare root rose, you want to make sure you pack it in firmly. Fill that hole as full as you possibly can. Spread the roots out in all directions.
Since the roots aren’t typically too large, you will likely use most of the soil you pulled out to refill. Which is why I like to put it in a separate container. Makes the fill in much easier. I even like to stand up and pack around the rose with my feet once things are filled in. This ensures you won’t have any sinking or moving around of the plant as it is watered. - Water it in. Even though you are likely planting your roses when it’s still relatively wet in Spring, make sure you water that rose in. Every plant needs a drink to get things off on the right foot. Trust me.
Be amazed!
When I planted my first bare root rose, I assumed it would be a few years before I ever saw a bloom. I mean, this scraggly little thing looked like a whole lot of nothing. But guess what!? That rose nearly tripled in size and bloomed just a few months later. In it’s very first season!
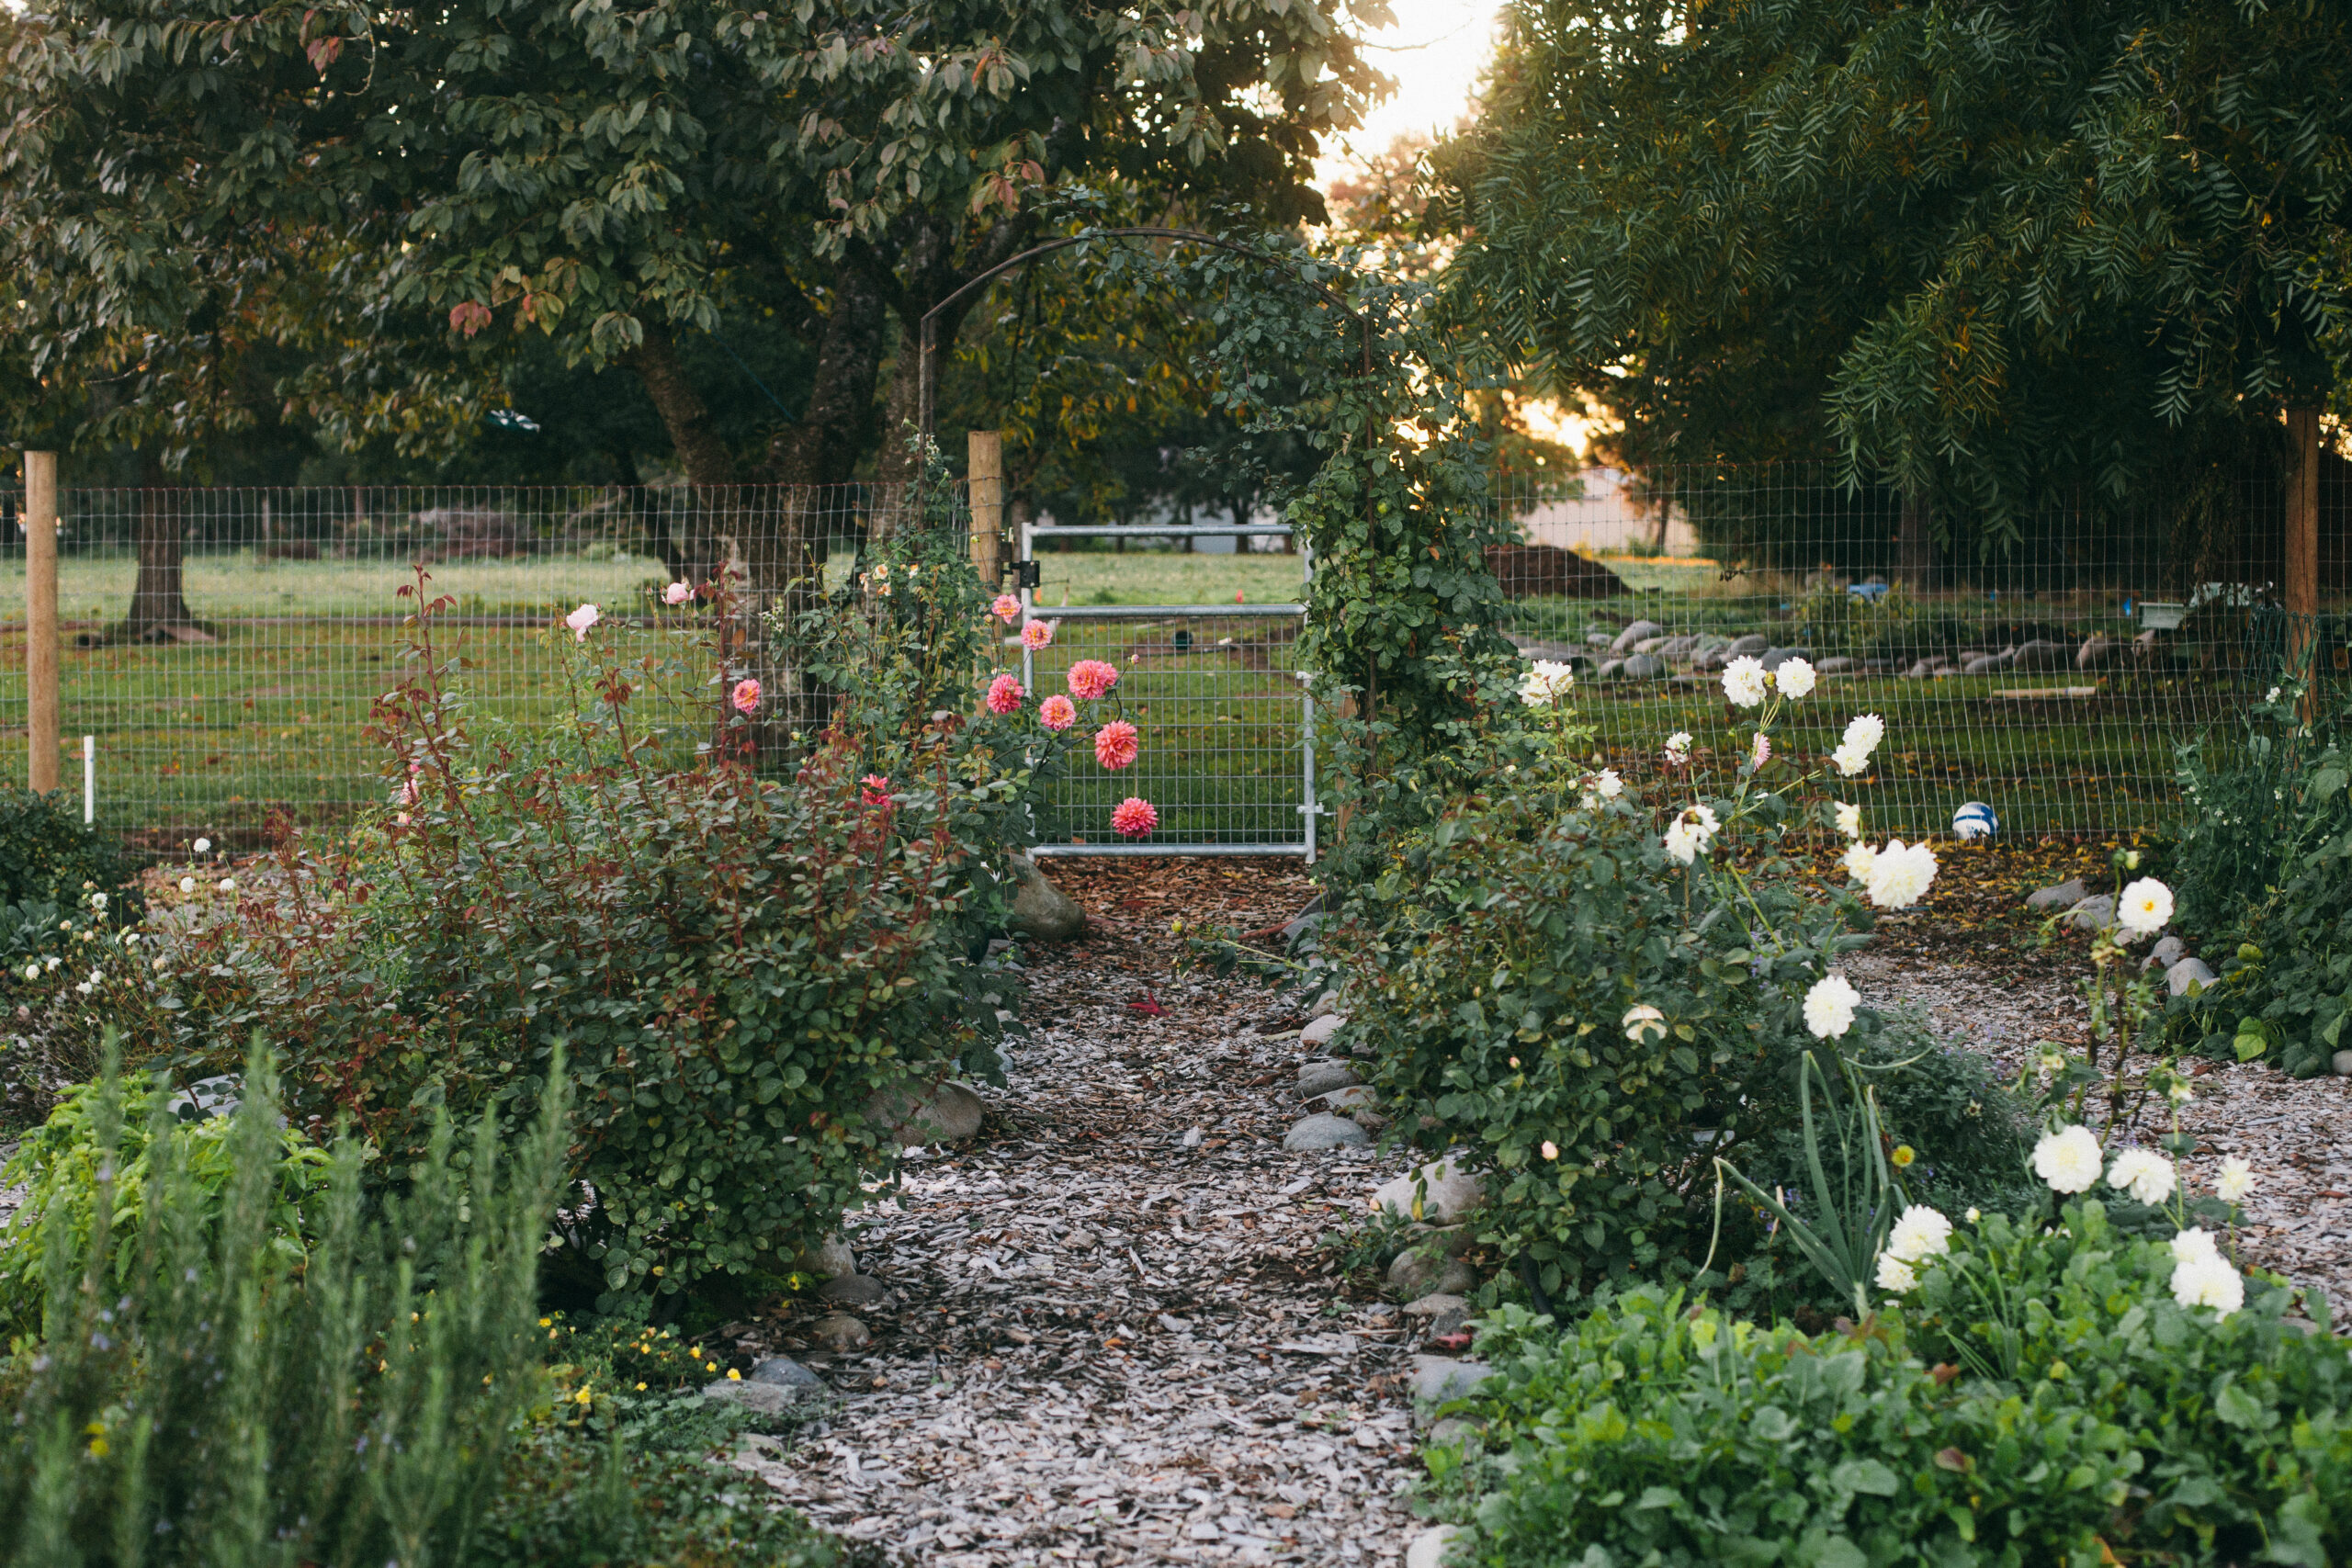
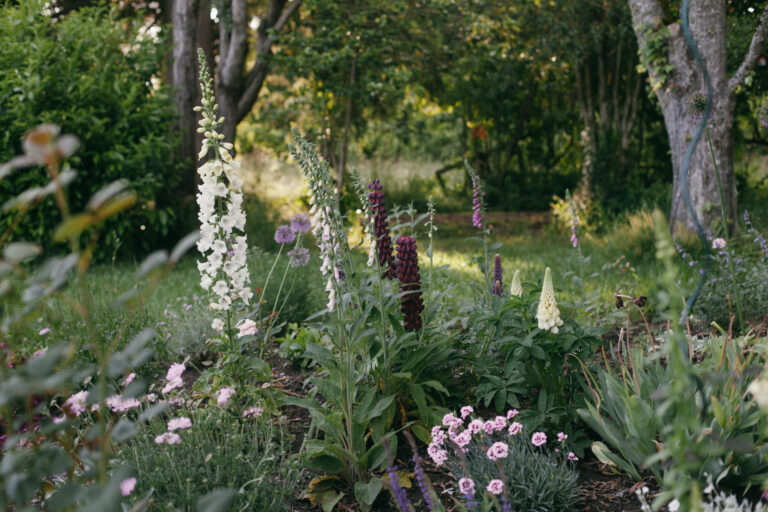
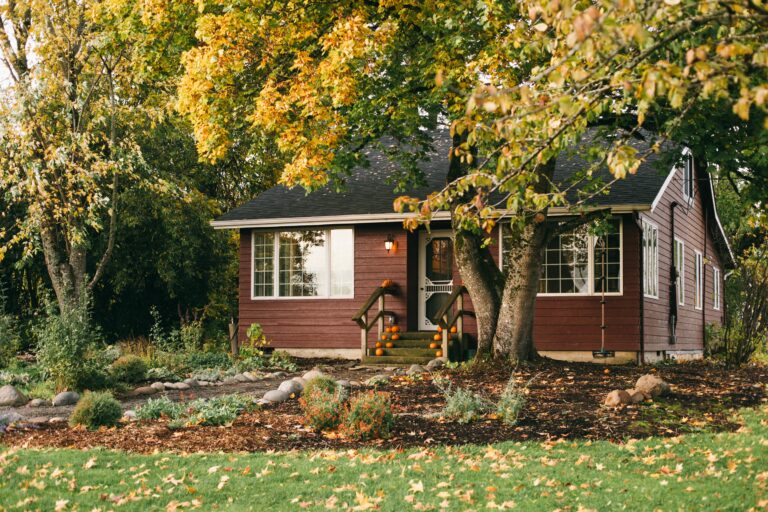
English roses, especially David Austin roses, have the most incredible scent, beautiful shape and colors, and just take your breath away. You can read my post What’s so great about David Austin Roses for the full scoop. And see all the roses I have in my garden. Or HAD! Because I planted two brand new ones this Spring.
Which roses did I plant this year?
My Mom gifted me a rose for Christmas this year, and while I was ordering I decided to add one more. We’ve had a couple holes in the cottage garden that needed filled anyway. So it worked out perfectly! Here’s what I chose this time:
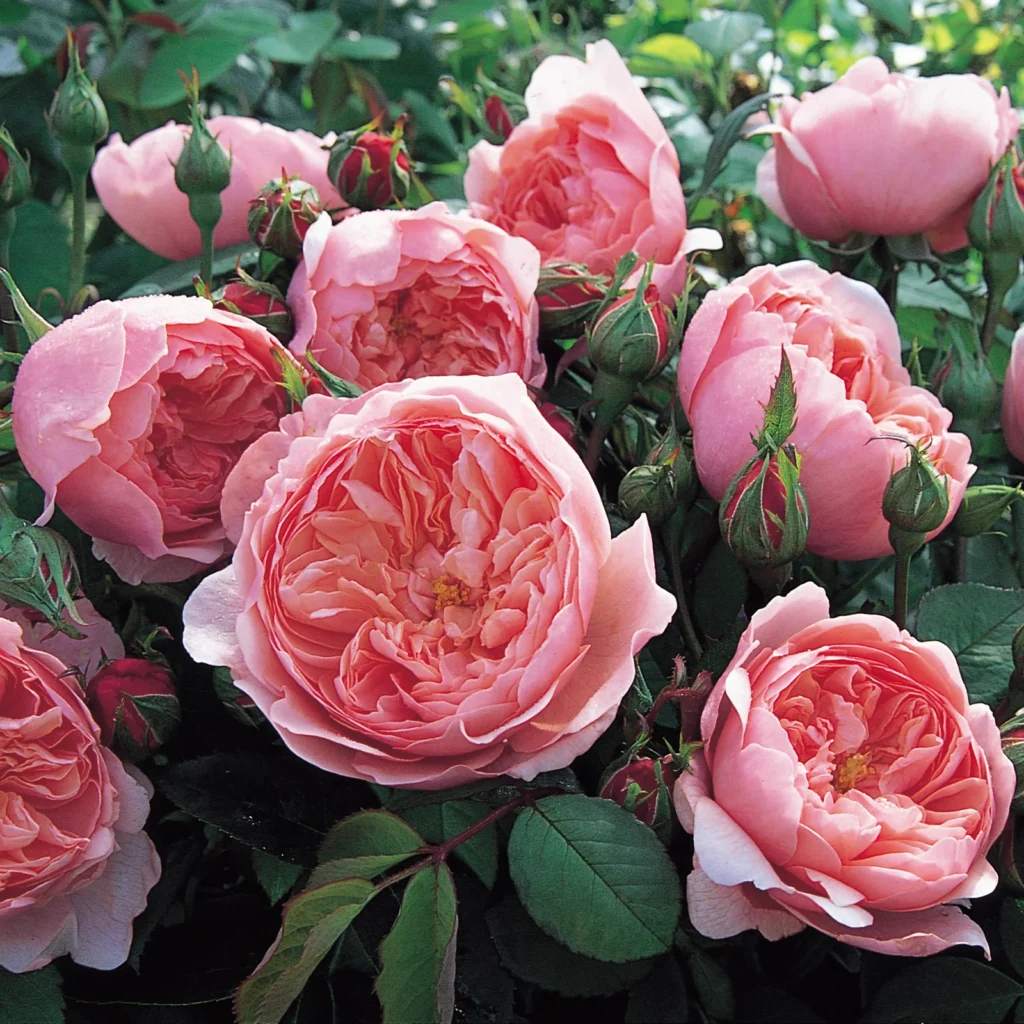
The Alnwick Rose
The Alnwick Rose is a pink shrub rose, which means it will grow into a nice, bushy shape. I prefer this look to a tea rose (very sticky) or a climber, at least in the cottage garden. This rose almost looks like a peony with its round, wrapped blooms, and is a cheery pink color, almost coral. Very fragrant and blooms all season long. I can’t wait!
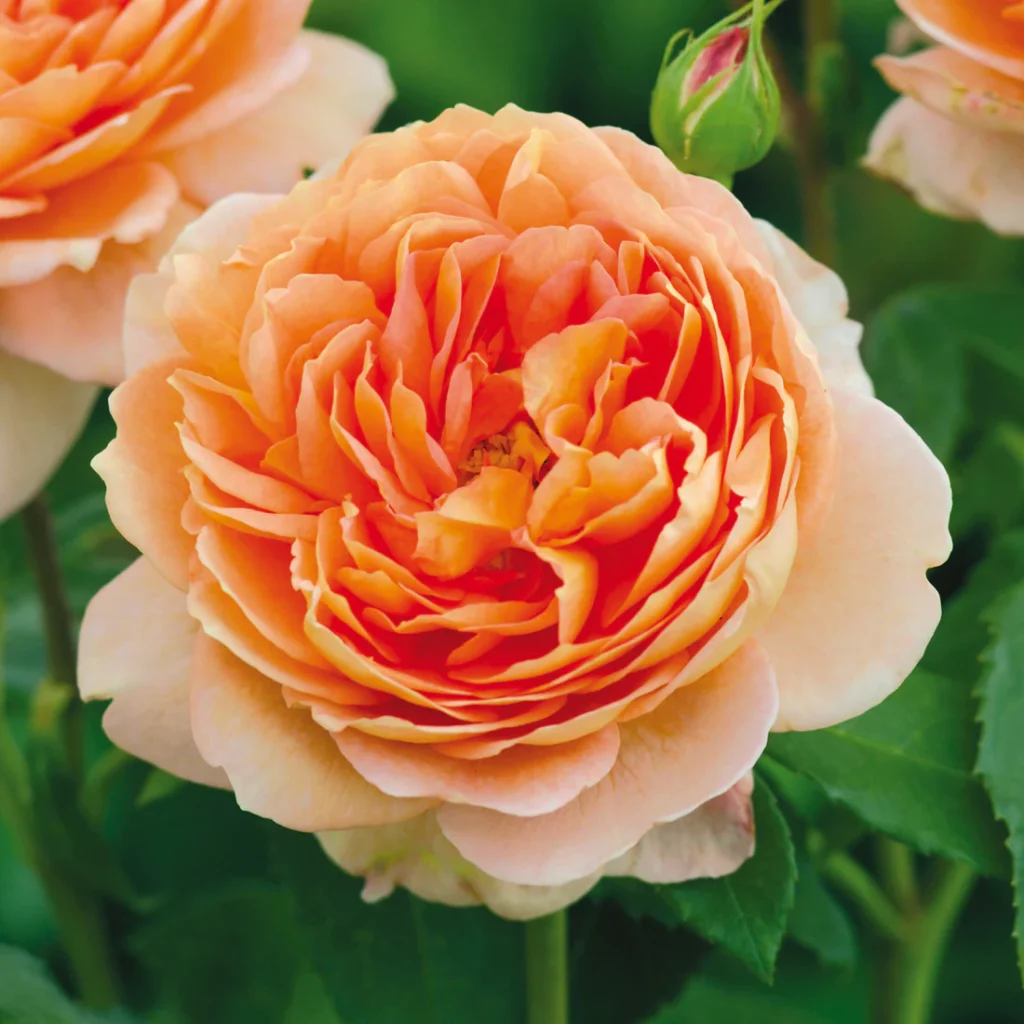
Carding Mill
Carding Mill was my other choice this year, and it falls into my most favorite color scheme for florals: apricot. I love a soft, blushy orange more than anything else. Carding Mill has more of a traditional English rose shape and a deeper, spicier scent.
Are David Austin roses worth the money?
Yes, yes, a thousand times yes. I have purchased (or been gifted) nearly 20 bare-root roses over the last five years and have never had an issue with a single one. In fact, one of my roses was dug up twice, run over by a tractor, covered with gravel and I still managed to salvage it. Last year was its first year in a safer place and it absolutely flourished, sending up blooms all season long.
That’s the other reason why I feel these roses are so worth it. They bloom, bloom, bloom and bloom some more. You get at least 2-3 flushes of roses throughout the season- more if you keep them deadheaded. I wish I would have taken a photo of the first bloom last Spring, it was absolutely breathtaking. My Potager garden smelled like heaven.
Leave a comment
Well, are you ready to order some bare root roses yet!? Get out there and make it happen! Leave a comment and let me know which ones you’ve got your eye on, or if you’ve planted any recently.
Or pin this image so others can find these simple steps to planting spectacular bare root roses. Thanks friends! Happy rose planting!